


How to Style Food for Photos: 10 Pro Tips and Tricks
I’m photographer Jay P. Morgan. In this 15-minute video, we’re joined by Ed Rudolph, a food photographer from the Los Angeles area. He’s going to share with us his top ten tips for styling food.
#1. Fake Condensation
Fake condensation on a glass can last for several days, and that’s plenty long enough to get your shots. To employ this method, you want to start with a very clean glass. Wash the glass in very hot water and make sure it’s totally dry on the outside.
The first step is to cover the top with a piece of cardboard and spray the glass with a product called Krylon Crystal Clear. It is a clear spray paint that allows the outside of the glass to have a little bit of a texture, so the next thing that’s sprayed on it doesn’t automatically run off.
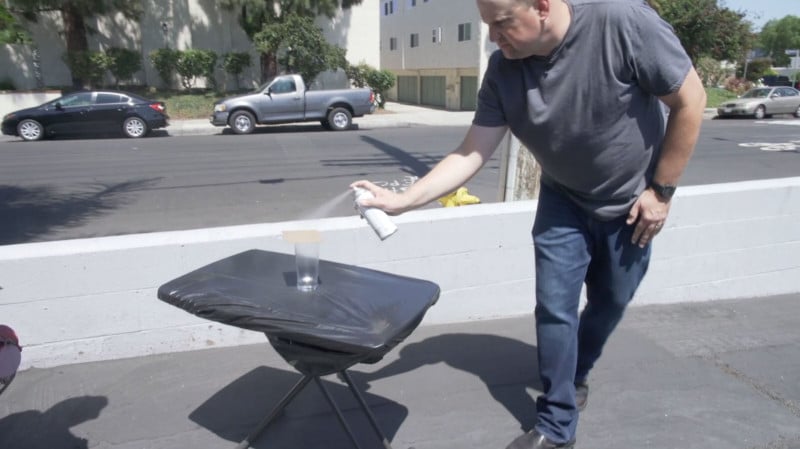
The second step is to spray a 50/50 mix of Karo Syrup and water onto the glass to simulate beaded up water.
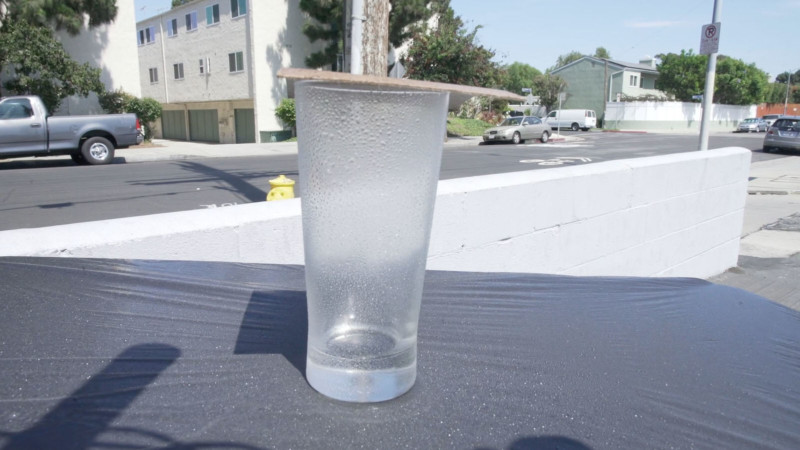
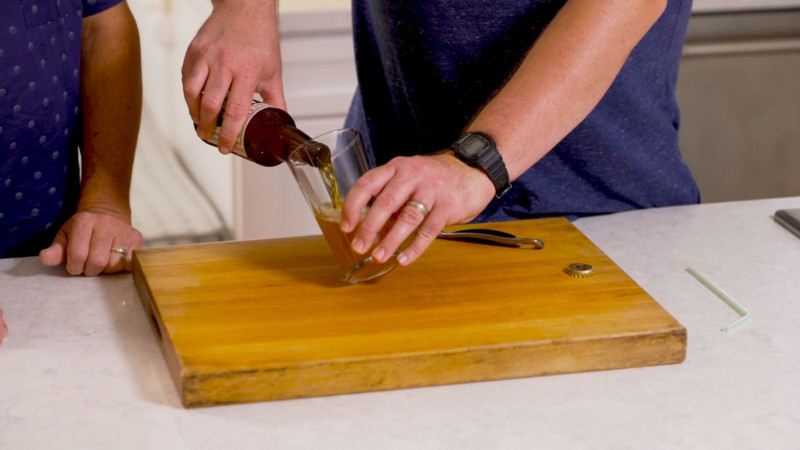
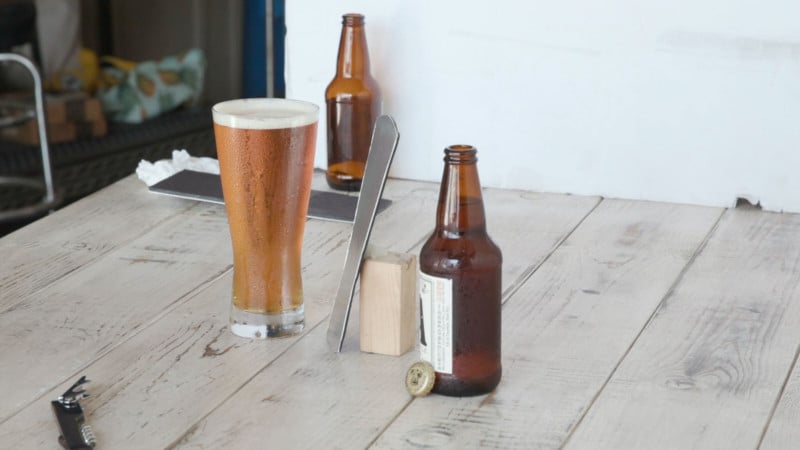
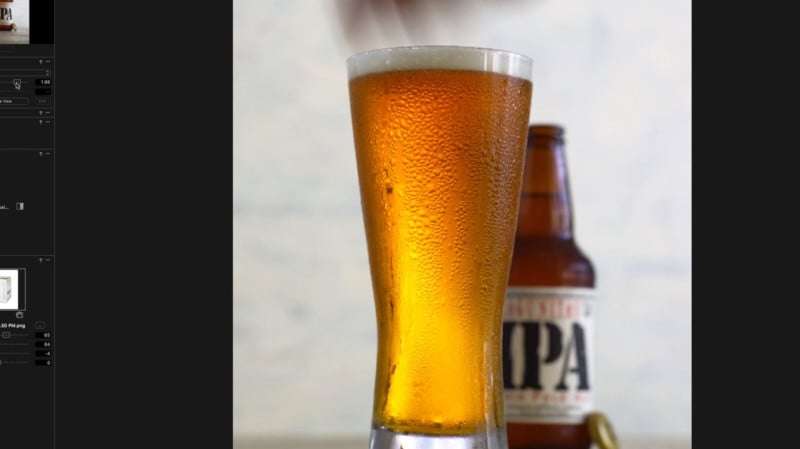
#2. Real Condensation
It’s hard to beat the real thing! We’re using a beer for our demonstration. To start off, your beverage needs to be refrigerated. Also feel free to put it in the freezer for 20 minutes to get it as cold as possible. We then poured our beer into a glass (be sure not to pre-chill glass), which causes a “bloom” of condensation to form around the glass.
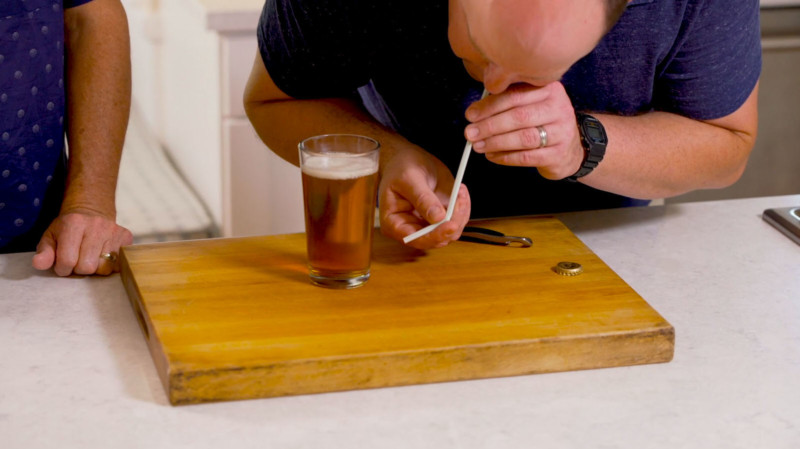
To speed this process along, use a straw to blow through onto the glass. The warmth of your breath starts to make the condensation build to where eventually, droplets of water will begin dripping down the glass.
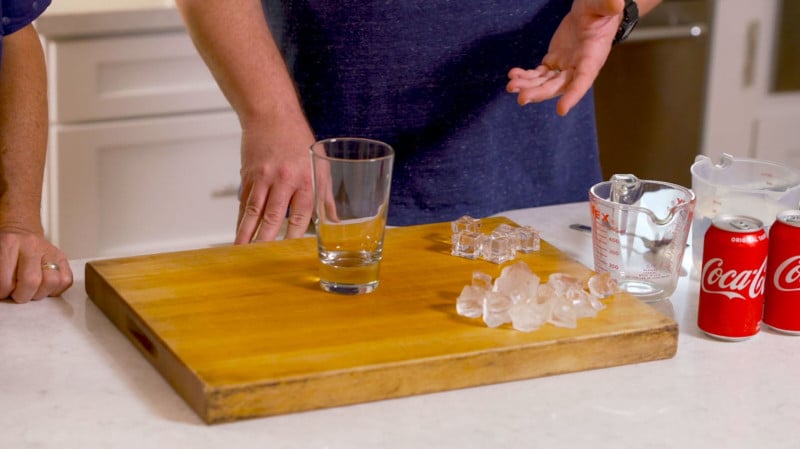
#3. Fake Ice
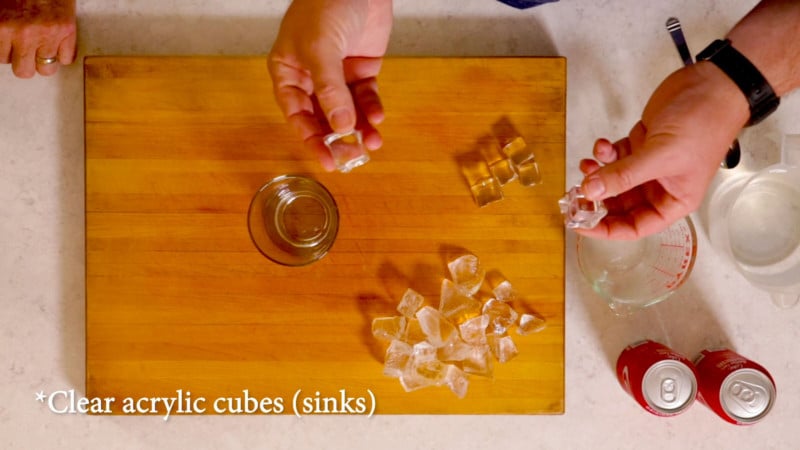
Obviously, real ice melts quickly and we might want to use something that lasts a little longer. There are two different types of fake ice you can use: acrylic and clear silicone.
Acrylic ice sinks to the bottom of the glass, so only use it if you plan on filling the glass completely.
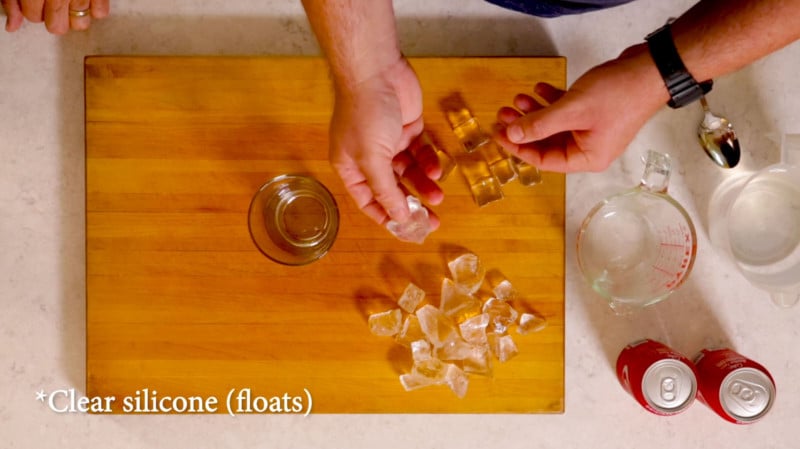
Silicone ice floats and comes in a big block from which you can break off small chunks to use. You can buy silicone ice from Special Effects Unlimited by the pound.
#4. Place Bounce Card Behind Glass
To get the beverage to come to life in a photo, we want light coming through the liquid and the glass to give it a nice backlit glow. One of the things we can do to achieve this is to take a second identical glass, lay it down on a white piece of paper or shiny silver card, trace around it, and then cut out the trace.

You can put it behind your glass to bounce light off and through your glass to get the glow you’re looking for.
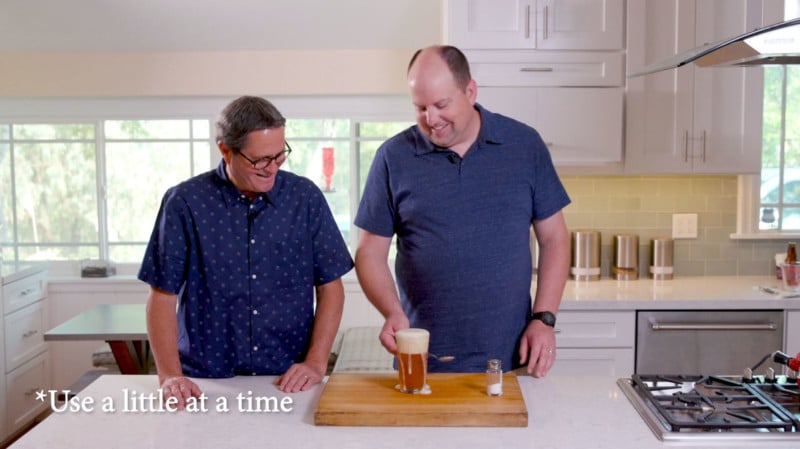
#5. Getting Perfect Head of Foam on Beer
Within minutes after being poured, a beer can lose its head of foam. To revitalize it, you can shake some salt in and mix with a spoon.
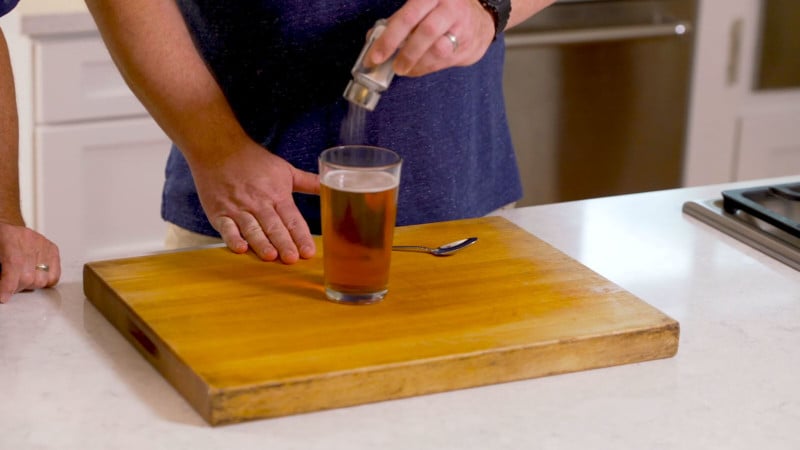
It doesn’t take much to build the foam back up again, so only use small amounts of salt at one time!
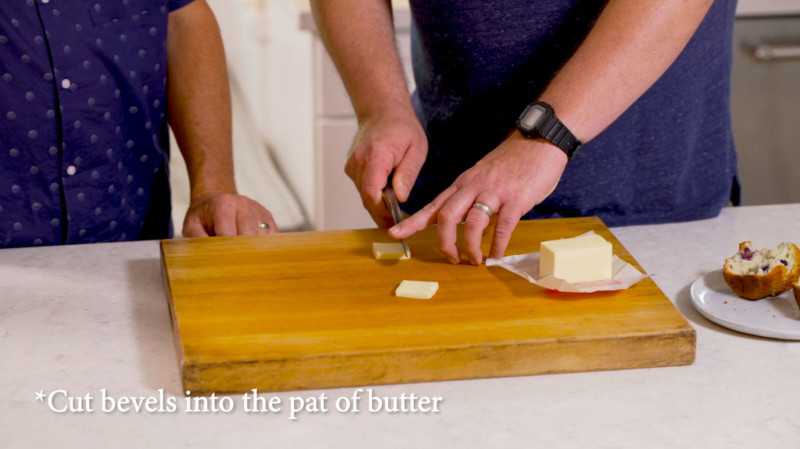
#6. Melting Butter on a Muffin
To recreate the look of a freshly made muffin, heat the butter rather than heating up the muffin itself. Before you begin, freeze your butter for 30 minutes to allow it to maintain a perfect square shape when you cut it. You also need to tear your muffin in half. Tearing gives the muffin a more natural look than if you were to cut it.
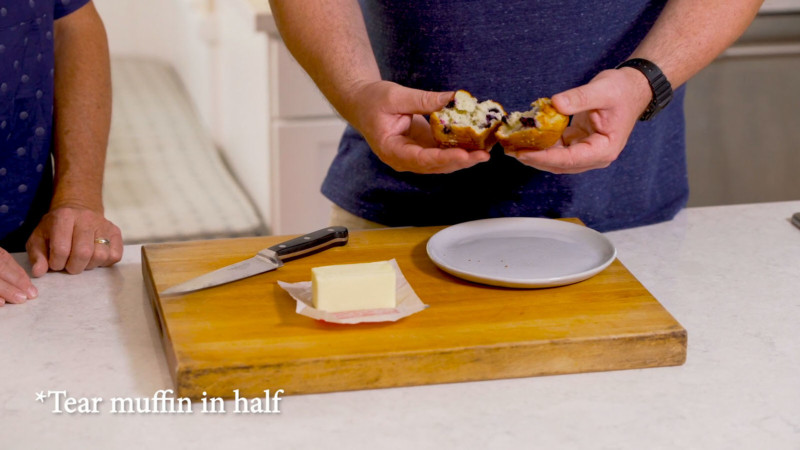
When your butter is ready, cut multiple squares from the stick to allow yourself to find the perfect shape. Then, cut 45-degree bevels into all four sides of the square (be sure to wipe the knife after each cut), and place the square onto your muffin.
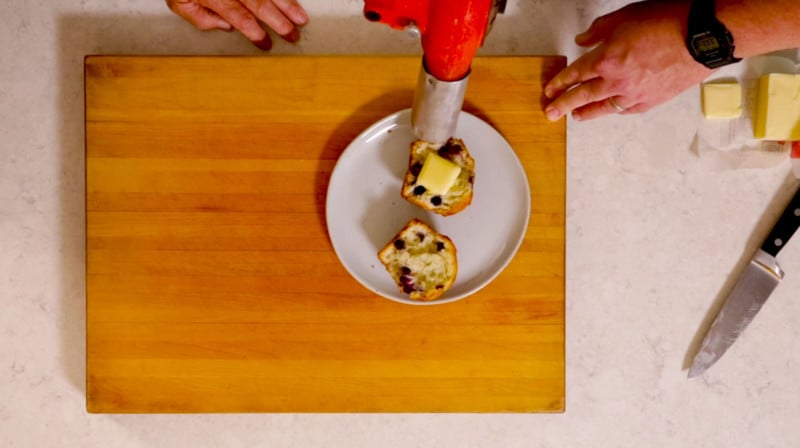
You will then use a heat gun to precisely heat only the butter until it begins to melt.
#7. Dilute Beverages
If you’re wanting to shoot beverages such as red wine or Coca-Cola, you’ll find that the camera doesn’t capture the color of them very well because of how dark they are. To rectify this, you can dilute your dark liquid 50/50 with water. If you’re using a 16-ounce glass, pour 8 ounces of the soda with 8 ounces of water into a measuring cup and then pour the mixture into your glass. The result might look too light to you at first glance, but it will allow your camera to capture more light from the beverage.

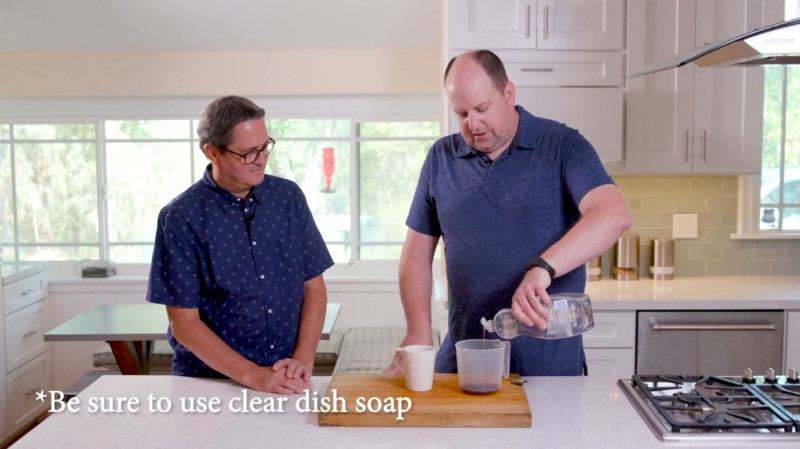
#8. Fresh Poured Coffee Look
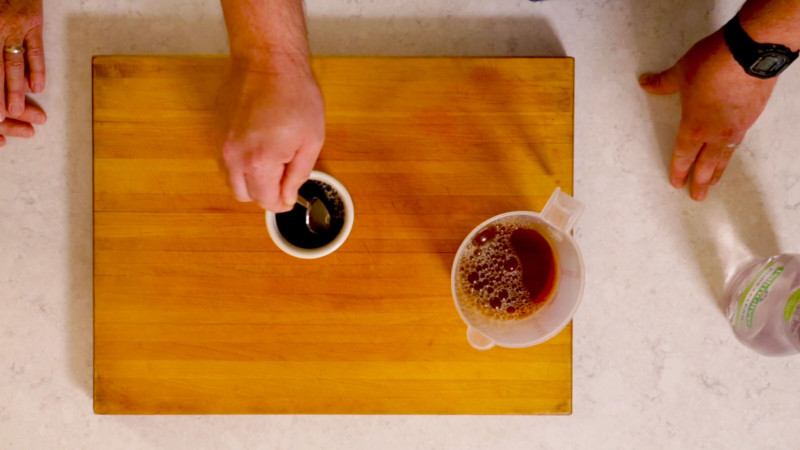
After sitting for a little while, a cup of coffee begins to look flat and not dynamic like we would want it to for a photo. To revitalize it, pour a small amount of coffee into a measuring cup and mix it a squirt of clear dish soap (must be clear), and mix to create bubbles.
Once bubbles have formed, use a spoon to scoop the bubbles out of the measuring cup and place them into your mug of coffee around the edges.
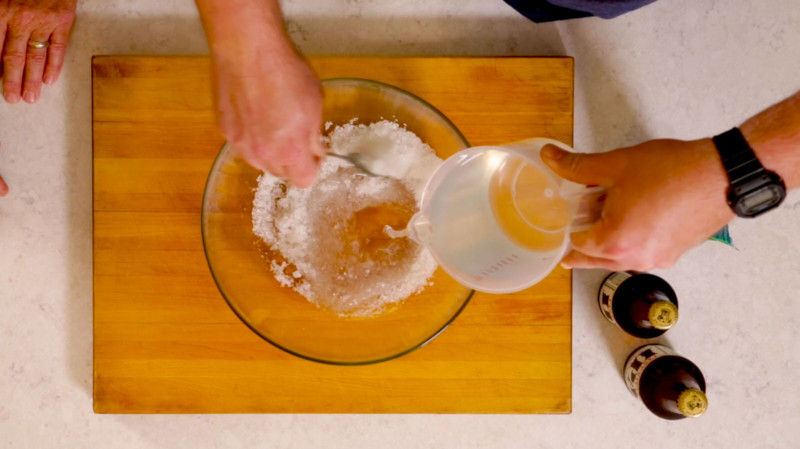
#9. Create Fake Crushed Ice
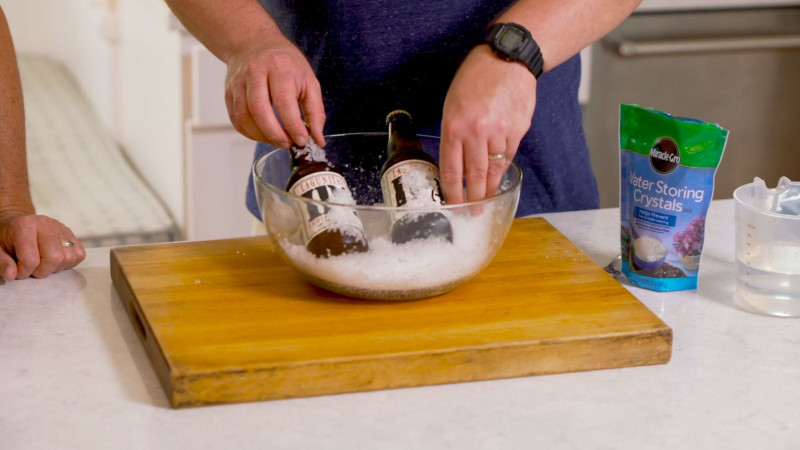
You might be wanting to create a shot of a bucket of beers or seafood on some crushed ice. But because crushed ice normally melts quickly, you can pick up water storing crystals from the hardware store to mimic the look of crushed ice. Begin by pouring a small amount of the water storing crystals into a bowl and then a subsequent small amount of water. Then, stir the mixture until the crystals start expanding.
Once you achieve the look you want, you can place whatever item you’re wanting to shoot into the bowl. For beverages like our beer, the water storing crystals do a great job of sticking to the sides of the bottle for a long period of time.
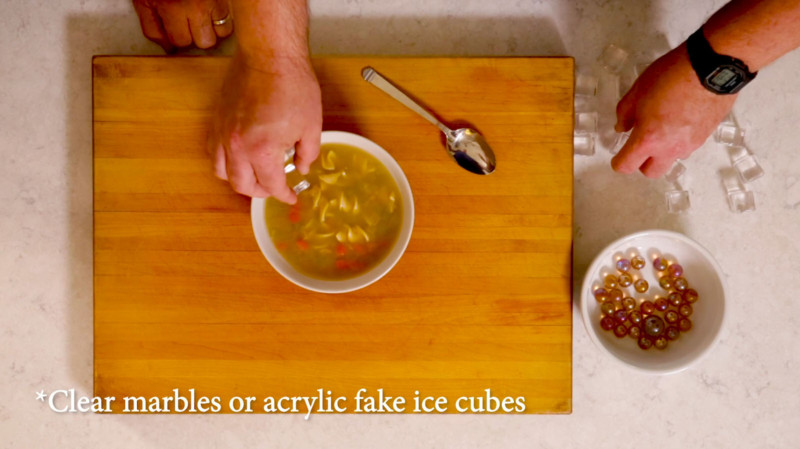
#10. Hearty Looking Soup
Just as with other food items, the contents of soup begin to sink to the bottom of your bowl after sitting for a while. To give the soup an appetizing look, drop some clear acrylic marbles or fake acrylic ice cubes in and tuck them to the bottom of the bowl. What this will do is create a platform for the contents of the soup to sit on top of.
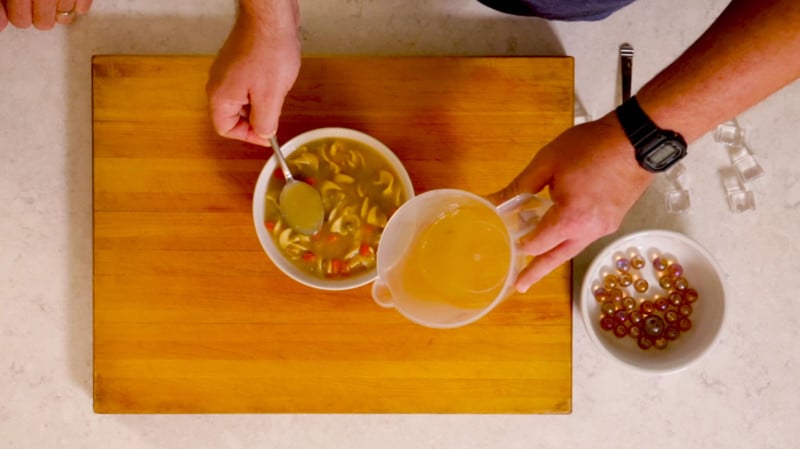
At this point, you might notice that the liquid level of the bowl has risen too much. Simply take a spoon and carefully remove the liquid from the top and discard into a measuring cup.
P.S. If you’d like to learn more from Ed about getting started in food photography, check out the new Art of Food Photography download at The Slanted Lens! This lesson covers equipment, lighting, business and more.
About the author: Jay P. Morgan is a commercial photographer with over two decades of experience in the industry. He teaches photography through his company, The Slanted Lens, which runs a popular YouTube channel. This article was also published here.
Contributer : PetaPixel https://ift.tt/2yMNQmo

 Reviewed by mimisabreena
on
Sunday, November 04, 2018
Rating:
Reviewed by mimisabreena
on
Sunday, November 04, 2018
Rating:


No comments:
Post a Comment