


Make DIY Diffusion Panels for Still Life Photography
Light diffusion panels can cost $80 to $100 or more when purchased retailed, but very little when you make them yourself, and to do so is very simple. I can’t tell you how many times I have been asked about my diffusion panels and where I get them from. The ones I use in my studio have all been custom-made to fit my needs, and I’ll show you just how to make your own.
Firstly, you will require a frame or border that encases the paper or cloth. My frames are made from thin iron rods. I designed them and had the local metalsmith create the frames based on this for me. I’m making the design available as a downloadable PDF.
I highly encourage you to download the PDF and take it to a local business or craftsman in your area to fix together. Alternatively, if you are really big into DIY and own a welder, you could purchase the dimensions of steel rods and make it yourself. I paid very little for the gentleman to create the frames for me.
Then I put diffusion material onto the frame. Some photographers have mentioned they use a Translum from Savage. There are several well-recognized products available on the market, some are even very pricey.
Personally, I have made use of smooth tracing paper, the type used for tracing by architects or designers. It is available at most craft shops or art studios. A large roll provides a good few meters of paper and allows for you to have additional stock should the diffusion panel need repairing. Your local paper supplier should be able to assist with picking out the right quantity based on the dimensions of the frame.
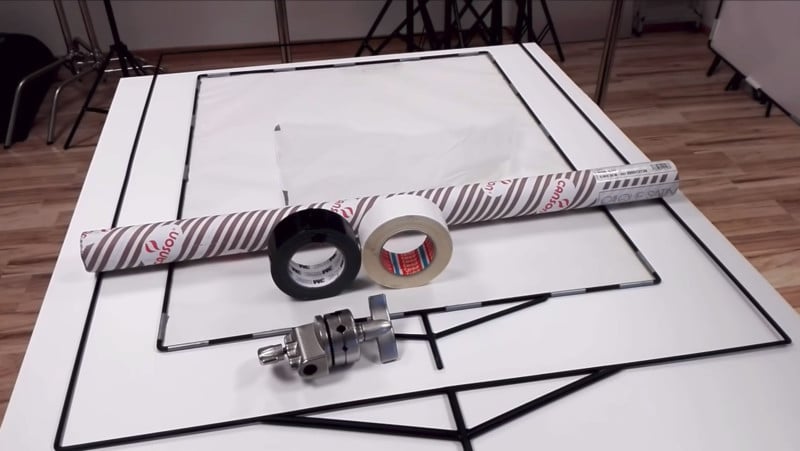
To fasten the paper onto the frame I have used a combination of duct tape and clamps. There is no right or wrong method in attaching the two together. Again, feel free to experiment with what works for you. For example, one brand of duct tape peeled off after a couple of days and another is still holding after four months.
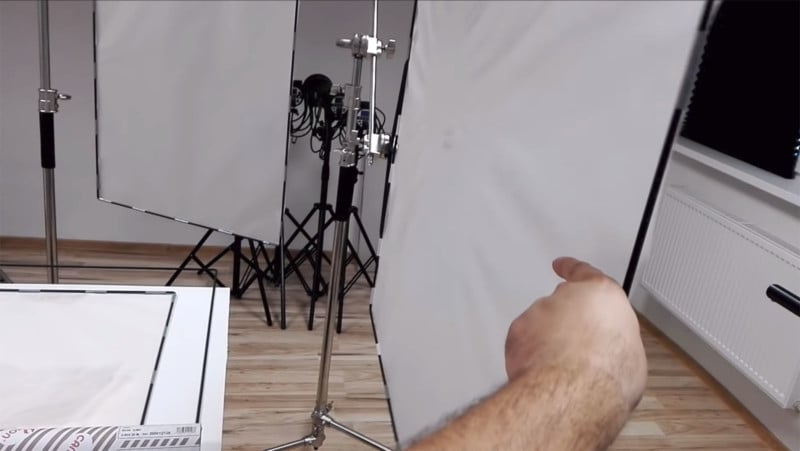
So it’s really just a paper on top of the iron frame that is used to make the diffusion panel. What works best when attaching the panel to a C-stand would be a special bracket clamp (see the video for visuals). This will make the system work well without anything falling apart with constant movement.
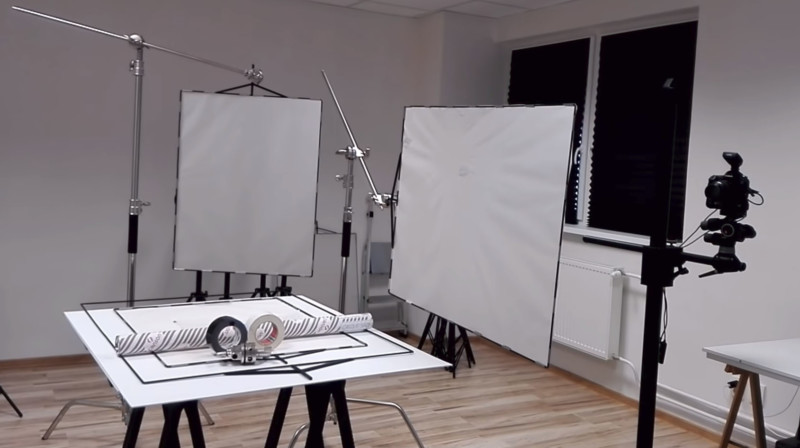
This is a budget, yet effective, DIY panel diffuser that can have a big effect on your lighting and quality of production. They are lightweight and easily replaceable. The versatility of the item in my studio environment makes adjustments and break down easy.
About the author: Martin Pitonak is a still life photographer based in Slovakia and available worldwide. The opinions expressed in this article are solely those of the author. You can find more of Pitonak’s work on his website and Instagram. This article was also published here.
Contributer : PetaPixel https://ift.tt/2PIxZQ5

 Reviewed by mimisabreena
on
Thursday, November 22, 2018
Rating:
Reviewed by mimisabreena
on
Thursday, November 22, 2018
Rating:


No comments:
Post a Comment