


Halo Infinite best controller settings
How to download Halo Infinite on Xbox and PC
Halo Infinite multiplayer challenges not working? Here’s how to fix it
How to fix Halo Infinite bluescreen error
Halo Infinite Season 1 – everything you need to know
Halo multiplayer is, traditionally, very difficult to break into – and if you’re not using the best controller settings, you’re only making it harder on yourself. The higher ‘time-to-kill’ in Halo compared to the likes of Call of Duty: Vanguard or Battlefield 2042 means that every shot counts and the huge variety of weapons require a degree of familiarity if you want to keep your opponent guessing.
It can be daunting if you’re new to the series, then, but one thing you can do immediately is head into Halo Infinite’s robust controller settings to figure out a control scheme that will put you on the right track. Of course, there’s no definitive ‘best setting’, as everyone will have their personal preferences, but it’s definitely worth experimenting with.
There are several simple control tweaks you can make and existing presets you can choose from to give yourself an easier time when jumping into Halo Infinite as a fledgling Spartan. And once our controller settings suggestions become second nature, you might find yourself scoring positive K/D ratios more frequently, allowing you to more reliably progress through Halo’s ranking system.
Given the series and Halo Infinite’s current popularity, and the fact that it’s completely free (eschewing the need for an Xbox Live Gold or Xbox Game Pass subscription), tons of new players are checking out Halo for the first time along with hardened veterans. It helps to get every little advantage you can get over the competition, then.
Where do I find the controller settings?
To change your Halo Infinite controller settings, head to the main menu and simply hit the Menu / Start button on your controller to bring up the Control Panel.
In this menu, the top selection is ‘Settings,’ and this is where you’ll be able to tweak controller settings based on our suggestions as well as to your own liking. Here, you can change layouts for both controller and mouse & keyboard setups including choosing from several existing presets, changing the analog stick sensitivity, and individual button input settings.
Video, audio, and UI settings can also be adjusted here, and a suite of accessibility options make Halo Infinite more accommodating for players with vision or hearing impairments.
Which button layout preset should I use?
Halo Infinite has a suite of button presets for controller users, as well as Southpaw options for left-handed players. Many of the button presets featured in the Settings menu can offer advantages over the default scheme based on how you like to play.
For example, the Button Puncher preset swaps the melee and crouch buttons, handy if you’re prone to accidentally clicking the right stick which would otherwise lock you into the melee animation. Meanwhile, the Recon preset puts reloading on the right shoulder button by default. This is a useful preset if you want to keep your thumb on camera movement while activating your reload.
The preset we’ve had the most success with, though (not to mention the one we’ve had the most fun with), would be Bumper Jumper. This preset does what it says on the tin: jumping is now mapped to the left shoulder button by default instead of the “A” button, and grenades are now thrown using the left trigger.
A crucial part of Halo Infinite is movement, and being able to keep your opponent guessing. Moving the input to the left shoulder button ensures you don’t have to take your right thumb off the stick when you jump, allowing you to maintain the accuracy you otherwise would’ve lost by pressing “A” on the default control scheme.
The “A” button is instead used to sprint, while the right shoulder button lets you perform a melee attack. Lastly, zooming is now activated by clicking the right stick, just as it was in many of the older Halo titles. It’ll take some getting used to if you’re already familiar with Halo Infinite’s default control scheme, but once it clicks, you might find yourself winning crucial 1 v 1 encounters you may have otherwise flubbed.
If you’ve had the control schemes of Battlefield 2042 or Call of Duty ingrained into your muscle memory, you can also change Halo Infinite’s controller settings to more closely match these two titles, if that’s what you’d prefer.
Can I customize my button layout beyond the presets?

One divisive change on the Bumper Jumper control scheme is that reload finds itself on the “B” button, which might sound counterintuitive for those who’ve played countless shooters where reloading is usually situated on the “X” button on the left. Default Bumper Jumper settings instead place equipment usage on “X.” That encompasses ancillary items like activating Overshields and using the Grappleshot.
Whether you’re on Bumper Jumper or another preset entirely, you can thankfully map individual buttons to your liking. Simply scroll to the bottom of the Controller submenu to find button options for each input in the game, whether that be on foot or in one of Halo Infinite’s many vehicles.
Here, you can quickly and easily swap inputs around by first selecting your desired input (e.g. reload, zoom, throw grenade, etc.) followed by pressing the button you wish to use to activate said input. This will allow you to shift certain commands, like reloading, back to more familiar button placements should you desire.
What sensitivity settings should I be using?
You might find Halo Infinite’s default look sensitivity a little on the slow side. That’s hardly ideal, as whoever has their crosshairs on their opponent first has an immediate advantage in most encounters. The default look sensitivity setting is 2, which was a bit slow for our liking. We found 3 to be a good sweet spot between swift camera movement and actually being able to aim.
There is a tradeoff to consider, however. A higher sensitivity will let you turn and react quicker than a lower sensitivity, but you'll suffer during long-range encounters where small analog stick adjustments are necessary.
A lower sensitivity also makes it easier to keep track of your target but leaves you open to attacks from behind. There’s no right or wrong sensitivity, then, so experiment to see which suits you best. It’s wise to slowly increase or decrease your sensitivity over time, too, instead of making big sweeping changes.
Sensitivity for individual zoom levels can also be adjusted in the settings. This determines the speed at which the camera moves while you’re aiming down sights. Options exist for 1.4x, 2.5x, 3.0x, 5.0x, 6.0x, and 10.0x, all of which you can find across weapons that allow for zooming or aiming down sights.
For the higher zoom levels, you might want a set sensitivity a bit on the slower side. This could prove handy on the larger Big Team Battle maps if you like to play as a sniper. A slower, steadier aim sensitivity could help you pull off those distant headshots much easier.
Players can also adjust deadzone sensitivity and make other more minor tweaks that can have a dramatic impact on how Halo Infinite feels to play. However, the majority of players will benefit simply from using a sensitivity level they are comfortable with and the right button layout.
Should I adjust my field of view?
This isn’t really a controller setting, but it’s more of a bonus tip to potentially help you up your game. Increasing your in-game field of view (or FOV for short) can be a gamechanger in heated Halo Infinite multiplayer matches. To do so, simply head to the Video submenu in Settings.
The default field of view is 78 degrees, and it represents your character’s on-screen cone of vision. The default view is actually quite narrow, however, and you’ll be able to see a lot more of the action on your screen by increasing the field of view slider even slightly.
Try increasing the field of view to anywhere between 90 and 100 degrees, which is our preferred setting. This will push the foreground further back, allowing for a much wider and taller viewing range from your perspective.
There are a couple of things to keep in mind, though. Increasing the FOV can result in the occasional performance drop (though this should rarely be an issue on both Xbox Series X and Xbox Series S). Even worse is that higher FOVs might not be ideal if you’re prone to motion sickness. Extremely wide viewing angles can also result in a distorted, fishbowl effect on the screen which doesn’t exactly look realistic, or appealing.
A lower field of vision will address these issues, but this does make less of your peripheral vision immediately visible. A higher FOV may allow you to spot opponents earlier, and generally make you more aware of your surroundings. Again, experiment to see what works best for you.
Should I buy an Xbox Elite Wireless Controller Series 2?
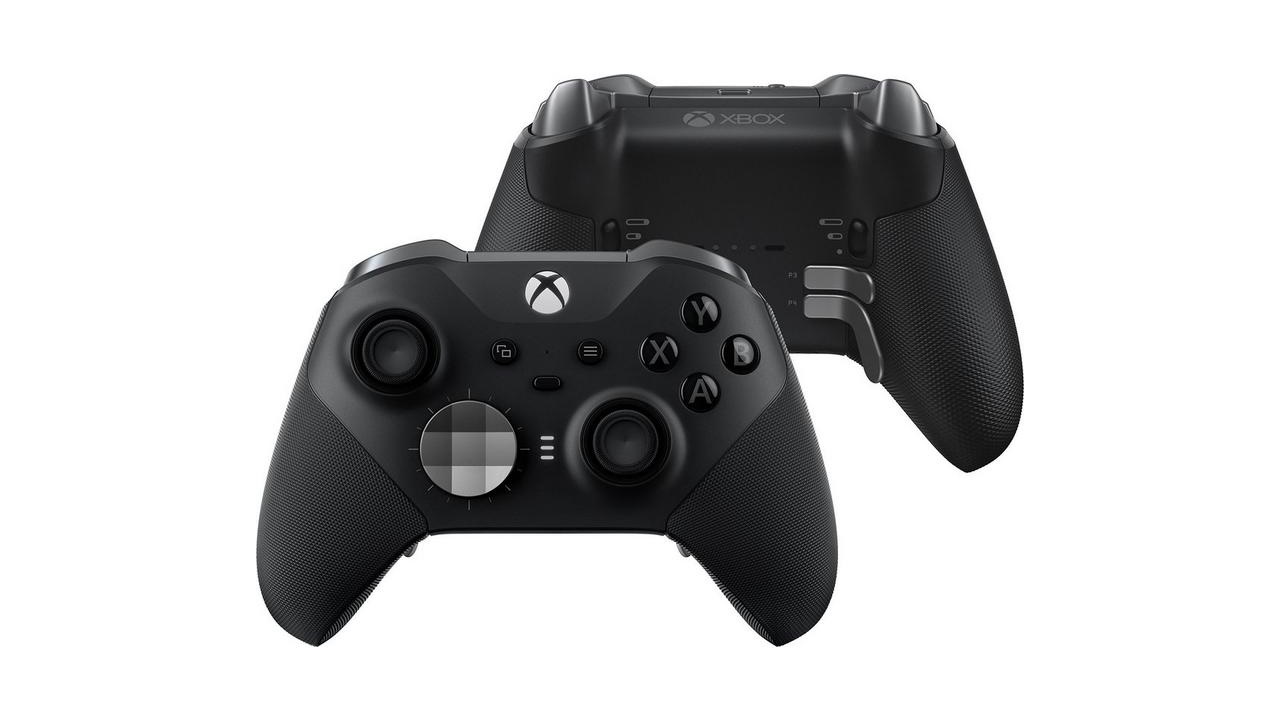
If you really want the best customization options available, it could be worth picking up a pro controller, like the Xbox Elite Wireless Controller Series 2. With hair-trigger locks, the option to adjust analog stick tension and rear buttons, you never actually need to use the face buttons and can fire your weapons quicker.
The Xbox Elite Wireless Controller Series 2 is one of many options on the market that can help you get a competitive edge over your opponents, and it can also address some of the issues players face when it comes to button remapping. However, its high price tag means it will be a luxury purchase for most.
Contributer : Techradar - All the latest technology news https://ift.tt/3qLK5JK

 Reviewed by mimisabreena
on
Friday, November 19, 2021
Rating:
Reviewed by mimisabreena
on
Friday, November 19, 2021
Rating:


No comments:
Post a Comment