


How to Find the ‘Sweet Spot’ of Your Lens for Sharper Photos
When it comes to purchasing a new lens there are two questions that immediately come to mind for me, how much is it and how sharp is it? Now, I know there’s more to the lens buying process than overall sharpness, but as a landscape photographer, sharpness is king!
As I was recently conducting my research process into yet another lens purchase, I began to reflect on the overall lack of knowledge I possessed when it comes to anything outside of the standard specs of my lenses (aperture and focal range). This revelation was brought on by the multitude of lens reviews I read along with the common phrase of “lens performance,” AKA the “sweet spot”.
I’ve always heard of the proverbial “sweet spot” and understand this to be the aperture range where a particular lens performs the best, but never took the time to conduct this test on any of my own lenses. The most interesting part of this is that quality lenses make up the majority of my investment in photography and yet they’re the one piece of gear I honestly know the least about.
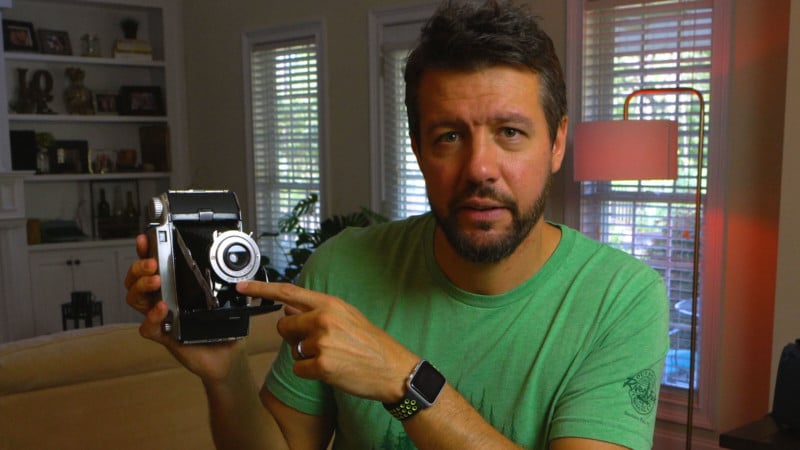
So, before I rushed out and purchased yet another lens, I decided that I must spend the 20 or so minutes to determine exactly what the sweet spot is for each of my lenses. I mean, after all, I could have been missing the optimal performance on my lenses all this time and would have had no idea. Plus, this is one of those things where once you do it, you never have to do it again, assuming you don’t forget what the sweet spot is. So, I grabbed a vintage camera off my shelf to use as my test subject, one because it looks cool and two because there’s small writing around the lens.
I find it much easier to distinguish overall sharpness when looking at letters and numbers as opposed to anything else. I placed my subject on a fence post in my backyard and grabbed my camera, tripod, and 70-200m lens.
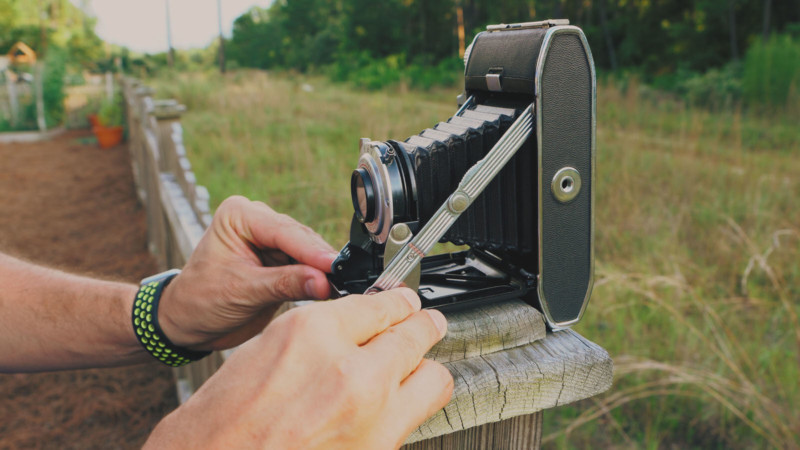
Once set up, I began snapping images at each f-stop value starting at f/22 and working my way all the way down to f/4. My first series of images was captured at a focal length of 135mm and the second set would be zoomed all the way in at 200mm. If you decide to perform this test on your own lenses, the focal distance is purely up to you — this can be any distance that you choose.
I would, however, recommend that you refocus your camera each time you change the f-stop value. I used autofocus for this and placed my focus point dead-center of my subject and never moved it, just auto refocused each time and fired away. Once I completed both series of images (135mm and 200mm), I loaded all the photos into Lightroom and began to review the results.
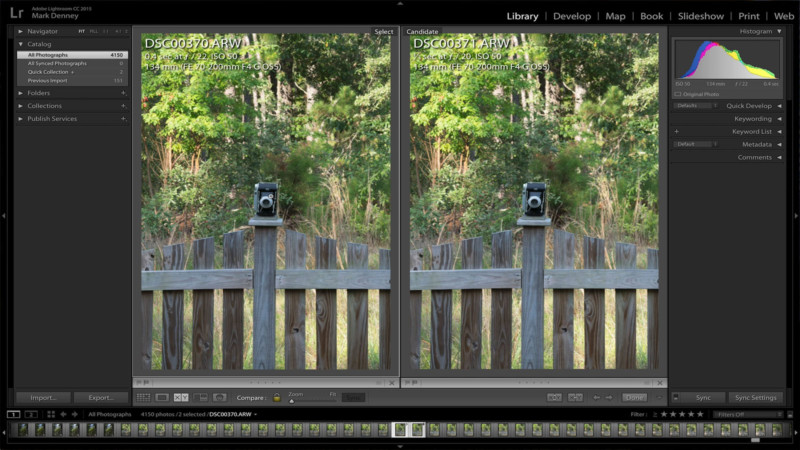
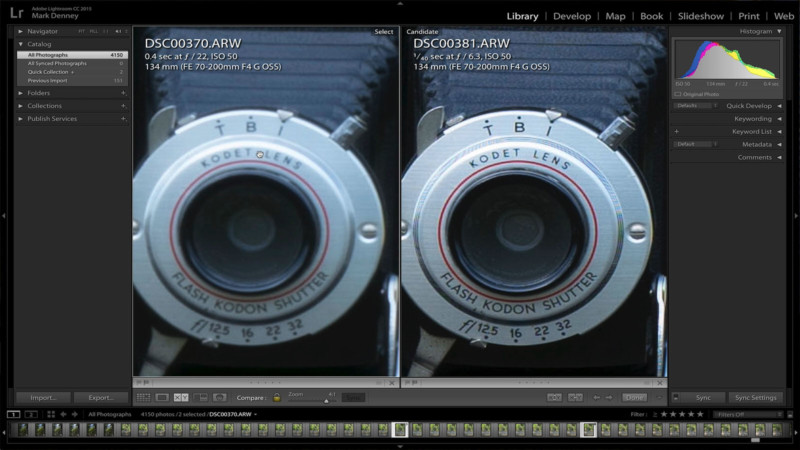
When analyzing the results, I found it beneficial to utilize the split screen feature within Lightroom while looking at two images simultaneously where I could zoom in 4:1 on my subject. I started with the 135mm series at f/22 and worked my way down. Right out of the gate I discovered how much diffraction impacted this particular lens when stopped down to f/22. It wasn’t only f/22 that was impacted either, but also f/20, f/18 and even f/16. Albeit, f/16 looked noticeably better than f/22, but nevertheless, it still wasn’t as crisp as it could be.
So, identifying the overall diffraction tolerance was an unintended but wildly beneficial piece of information that I wasn’t anticipating to uncover from this exercise.
If you’re not familiar with what diffraction is: it’s when light “diffracts” or begins to break up when passing through a small opening, which ultimately limits the overall resolution of your camera. As I progressed throughout the series of images, it was becoming increasingly obvious that I was nearing the range of optimal performance.
I’ve always heard that generally speaking a lens performs the best 2-3 stops above wide open, so I was interested to see if that holds true here. After about 5 minutes of analyzing the images I was able to determine that my 70-200mm lens had a sweet spot in the range of f/6.3, f/7.1, f/8 and maybe f/9, which, interesting enough, wasn’t in line with the generalized assumption of 2-3 stops above wide open. The results also differed from my personal assumption that this lens performed the best at f/11.
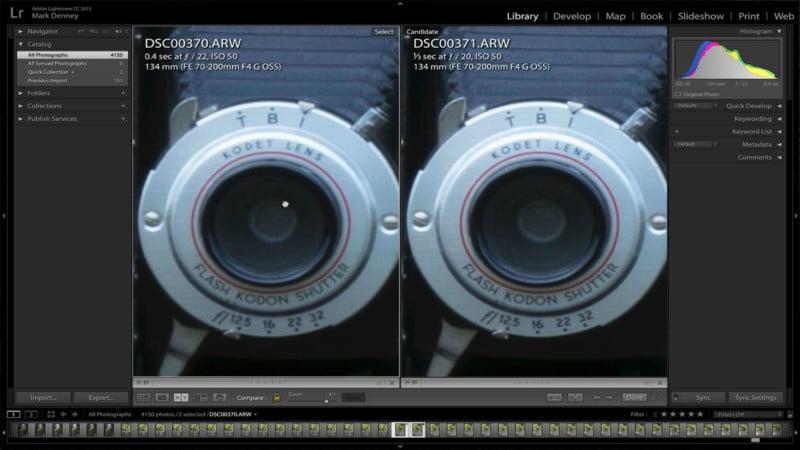
Something that blew me away was when I decided to compare the sweet spot of f/6.3, with f/22 which suffered from the largest amount of diffraction, f/22 appeared to be completely out of focus and not even a usable image.
When I reviewed the images that were zoomed in to 200mm, I was also surprised to uncover that the sweet spot actually shifted a bit, the zone of optimal performance now also included f/10 as well.
Watch the video at the top of this article for a closer look and more comparison photos.
So at the end of the day, is this the most exciting photography exercise? No. But is this extremely beneficial information to understand? Absolutely! If you decide to test your lenses at home, I would suggest jotting down the findings of each lens in order to alleviate the need to reexamine them in the possible event that you might forget. After a relatively short amount of time, though, this information will become second nature and you’ll be confident knowing that you’re getting the most out of your largest photography investment — your lenses.
You can find more of my videos by subscribing to my YouTube channel.
About the author: Mark Denney is a landscape photographer based in North Carolina. The opinions expressed in this article are solely those of the author. You can find more of his work on his website, Facebook, Twitter, and Instagram.
Contributer : PetaPixel https://ift.tt/2nldlVB

 Reviewed by mimisabreena
on
Thursday, August 09, 2018
Rating:
Reviewed by mimisabreena
on
Thursday, August 09, 2018
Rating:


No comments:
Post a Comment